
Easy steps, fun ideas, and quick solutions to your common problems with suggested images ready to add.
What is Gel Wax?
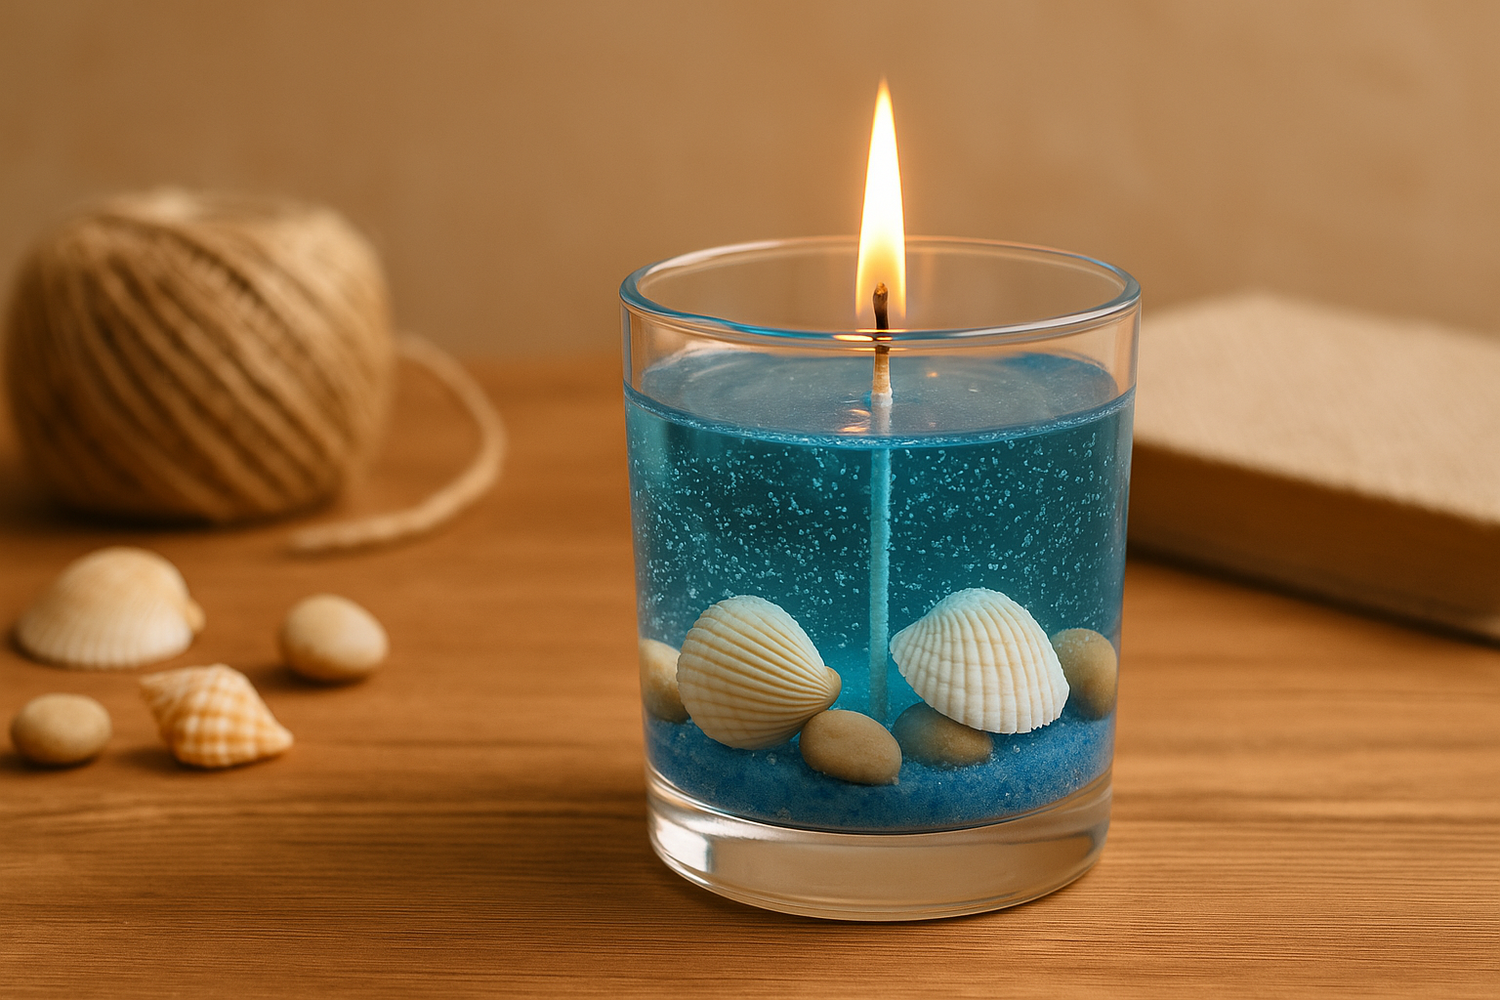
Gel Wax is a transparent wax with a gel texture designed for glass containers. It allows seeing items inside the cup like shells, beads, stones, or colored wax pieces and gives an elegant glassy glow.

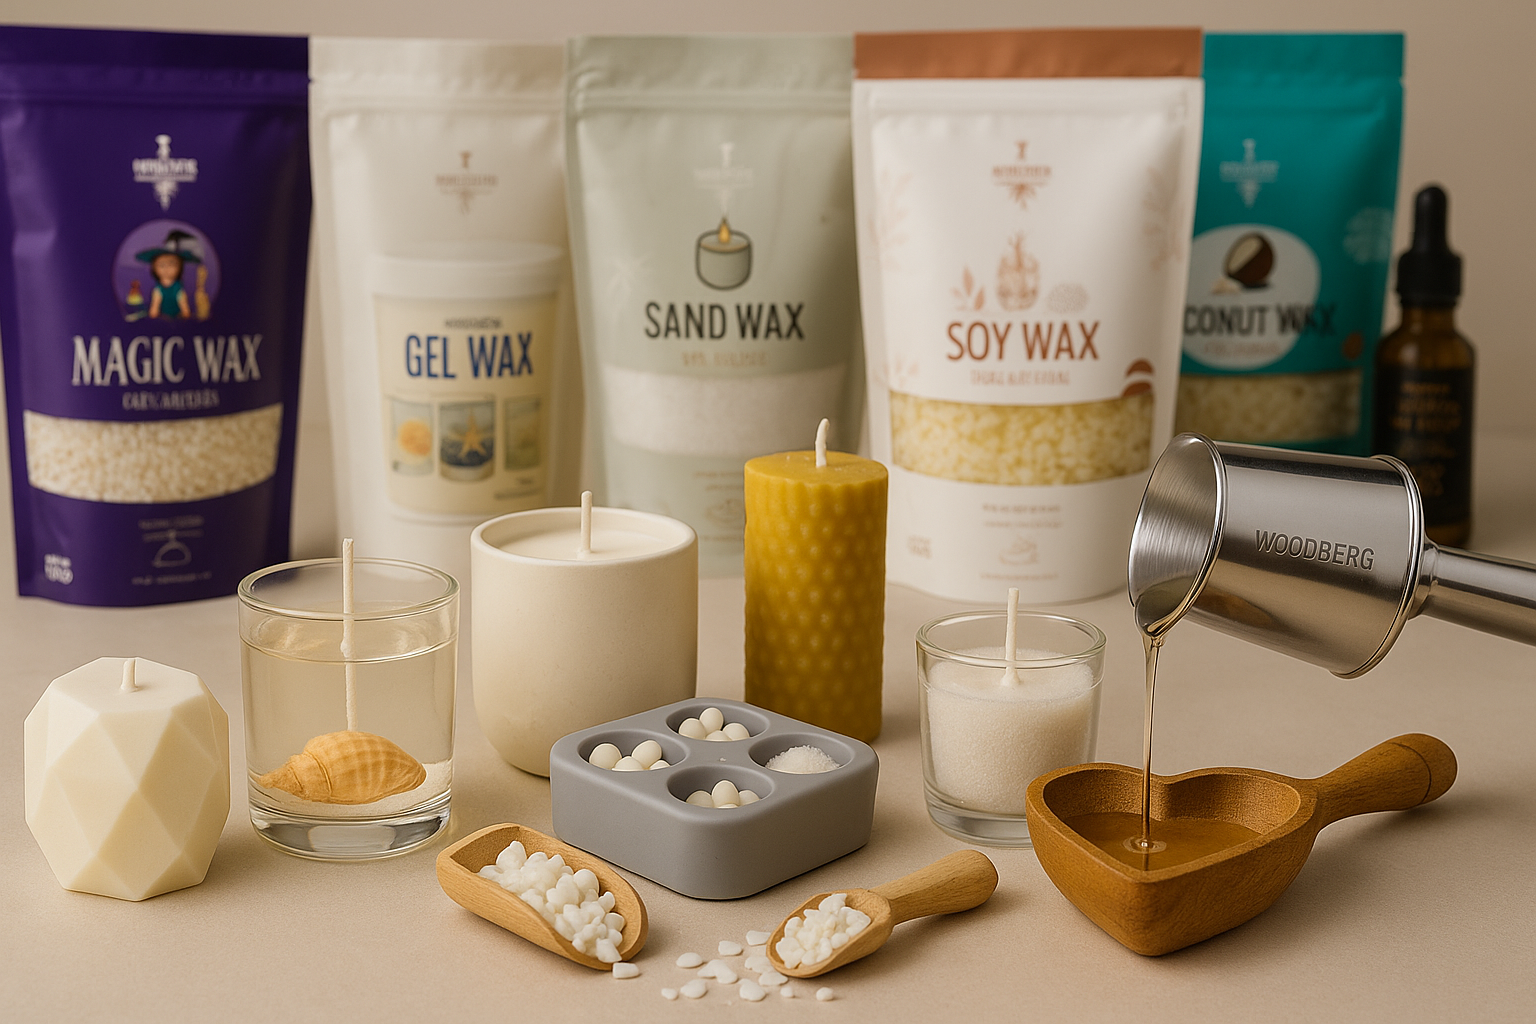
What Will You Need?
- Gel Wax (1 kg or more)
- Thick Heat-Resistant Glass Containers
- Wicks Suitable for Gel + Wick Bases
- Fragrance Oils Compatible with Gel and Wax
- Gel Wax Dye (Optional)
- Digital Thermometer
- Kitchen Scale
- Metal Wick Holder

Safety First
Warning: The heat values and fragrance percentages below are guidelines. Test on a small batch and ensure fragrance compatibility with the Gel. Use thick glass, keep any flammable items away from the wick, and never leave the Candle burning unattended.

Step-by-step guide
1) Preparing the container and wick
Clean the glass cup with water and dry it. Fix the wick in the center using a wick base, and secure the top with a clip.

2) Cutting and heating the Gel
Cut the Gel Wax into small cubes and heat slowly until it melts and becomes completely clear. As a common reference: good Gel performance starts above approximately 85°.

3) Adding Color and Fragrance
Add a few drops of liquid pigment or mica powder to give a marbled look and stir. Add compatible fragrance and mix for 1–2 minutes. As a starting point: try a ratio of ~3% (example: 500g Gel ← 15g fragrance).

4) Pouring Time
Let the Gel cool down a bit, then pour slowly on the glass wall (experts prefer pouring at 85–95°C) to reduce bubbles.

5) Smart Decoration (Optional)
Add only non-flammable elements (shells, pebbles, beads, Wax pieces). Keep them ≥ 1 cm away from the wick. To reduce bubbles: quickly dip the pieces in warm Gel before inserting them.

6) Reducing bubbles
Let the Candle sit for a few minutes to allow bubbles to rise. You can gently pass warm air over the surface carefully, using a flame torch.

7) Curing, trimming, and testing
Let the Candle cool completely on a flat surface. Trim the wick to 5–6 mm before lighting. Perform an initial burn test for 2–3 hours to adjust the wick.

Fun design ideas
Eastern Beach
White pebbles + shells + a touch of pale blue.

Autumn Warmth
A little aromatic vanilla to add a warm fragrance suitable for autumn vibes 🍁

Evening coffee
Dried coffee + Gel with light caramel color.

Terrarium
Small pebbles + glass shapes resembling succulents.

Best uses
- Wedding and anniversary gifts
- Decorating café and event tables
- Seasonal editions and tourist gifts
- Hobby workshops (supervised by Rashid and with safety rules)

Quick solutions for common problems
- Gel cloudiness: Usually from incompatible fragrance. Test your fragrance and gradually reduce the ratio.
- Many bubbles: Raise the pouring temperature slightly, preheat the cup, and pour slowly on the wall.
- High flame/smoke: Trim the wick to 5–6 mm and check its size for the cup diameter.
- Weak scent: Gradually increase the ratio within the allowed limit or use a wider container.

Frequently Asked Questions (FAQ)
Is Gel suitable for molds/columns?
No, Candle Gel is designed for glass containers.
What type of wicks are best?
Wood wicks / paraffin wicks
How much fragrance should I add?
Start at about 3% and gradually increase within the limit allowed by your supplier, always testing fragrance compatibility.
Quick checklist
- Clean and dry the cups
- Fix the wick in the center
- Melt the Gel until clear
- Add color (optional) + compatible fragrance
- Slow pouring at the right temperature
- Arrange non-flammable items away from the wick
- Full cooling + wick trimming + burn test
Leave a comment
This site is protected by hCaptcha and the hCaptcha Privacy Policy and Terms of Service apply.